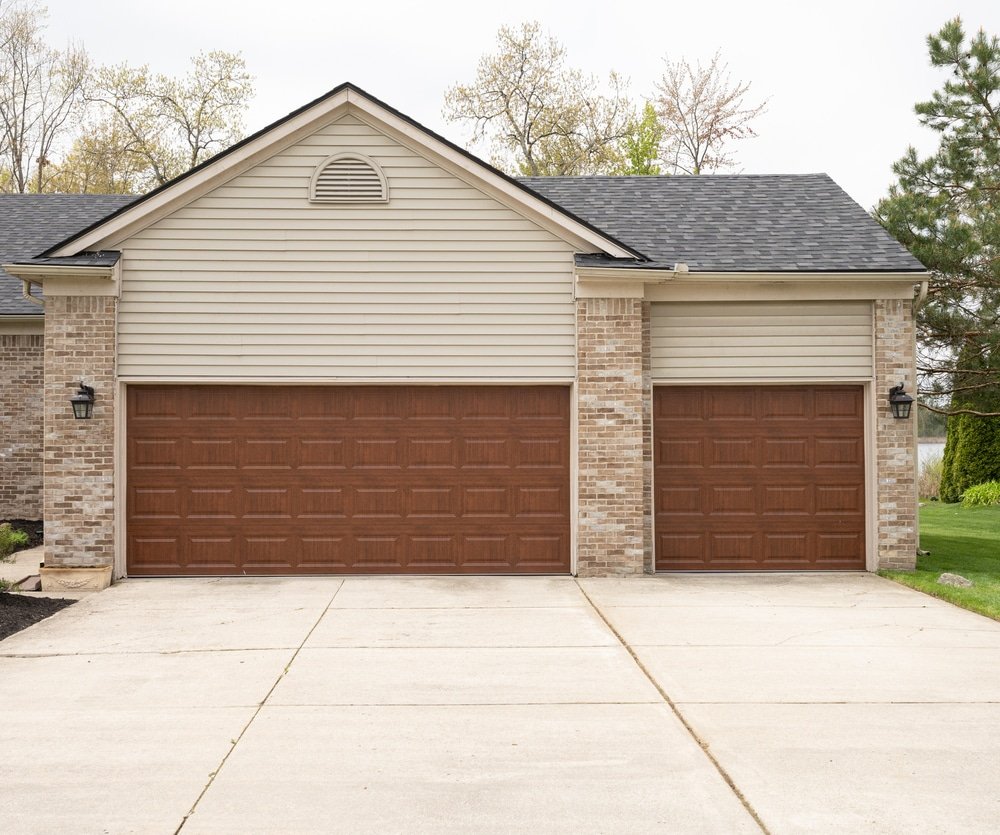
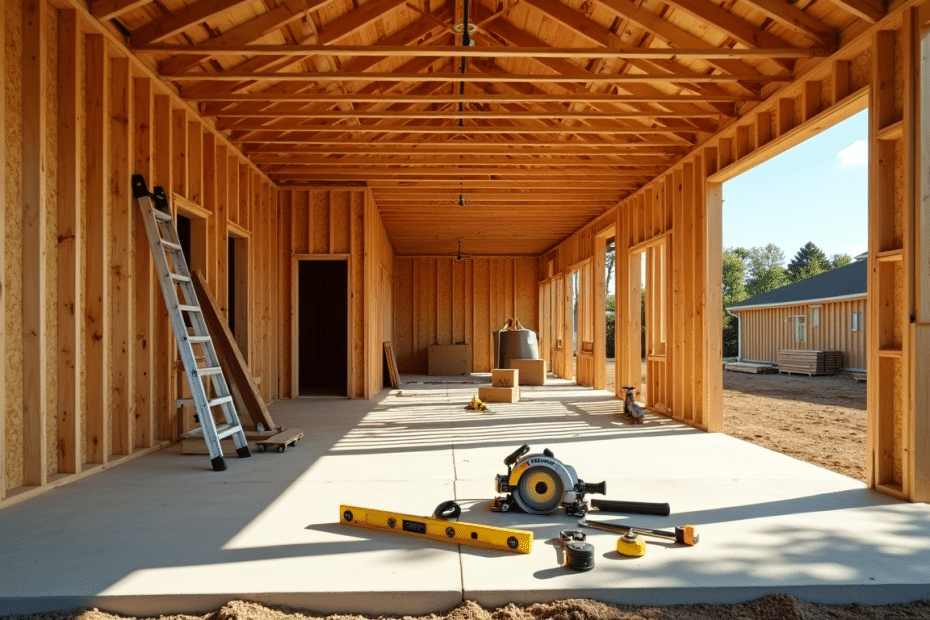
DIY garage construction can save you thousands of dollars compared to hiring contractors. Many homeowners have turned their dream of extra storage space into reality and kept more money in their pockets.
The thought of building your own garage might seem daunting at first. Getting permits, pouring concrete, and framing walls create a long task list to think over. But proper cost calculation, planning, and the right guidance make this project achievable for DIY enthusiasts.
This piece guides you through every step of garage construction. You’ll master everything from planning and material selection to foundation work and simple construction techniques. The guide includes significant safety tips that ensure your project runs smoothly.
What you’ll learn:
- Planning your garage project and getting necessary permits
- Essential tools and materials needed
- Step-by-step construction techniques
- Important safety considerations
- The right time to DIY vs. calling professionals
Essential Planning Steps Before Breaking Ground
Let’s plan our garage building project before picking up any tools. A full picture of the work to be done is a vital part of building your own garage.
Assessing Your Skills and Resources
Start with an honest evaluation of your construction capabilities. You need these skills:
- Simple carpentry and measurement expertise
- Physical stamina to lift heavy materials
- Knowing how to read construction plans
- Simple knowledge of power tools
- Safety procedures knowledge
You should take basic construction classes or hire professionals to help with specific tasks if you lack any of these skills.
Understanding Local Building Codes and Permits
Getting proper permits is a vital part of the process. Your project could face fines of $500 or more per day without proper permits. You need:
- A building permit ($200 to $550)
- Electrical and plumbing work permits
- Zoning approval
- HOA approval (if applicable)
Permit approval takes 6-8 weeks. The process should start early. Your garage plans must meet local building codes with specific requirements to structural integrity, ventilation, and fire safety.
Creating a Realistic Timeline and Budget
The numbers and timing deserve attention. A typical garage build takes about 3 months from start to finish. Here’s how the timeline breaks down:
| Phase | Duration |
|---|---|
| Permits & Planning | 6-8 weeks |
| Site Preparation | 1 week |
| Construction | 1-2 months |
Budget planning needs careful consideration. A single-car garage costs between $20,000 and $40,000. A two-car garage ranges from $35,000 to $70,000. Your budget should include a 10-15% contingency fund to cover unexpected expenses.
Building your own garage saves labor costs, but quality standards must remain high. Post-frame construction needs fewer materials, which reduces overall costs while maintaining structural integrity.

Gathering Your Tools and Materials
Let’s focus on gathering everything we need to build our own garage since we’ve completed our planning phase. The right tools and materials ready before construction starts will save time and prevent delays that can get pricey.
Essential Tools for Garage Construction
A well-equipped workspace plays a significant role in garage construction success. Here’s how we categorize the tools you’ll need:
| Category | Essential Items |
|---|---|
| Power Tools | Air compressor, power drill, circular saw |
| Hand Tools | Hammer, wrench set, socket set, screwdrivers |
| Safety Equipment | Fire extinguisher, first-aid kit, lighting |
| Measurement Tools | 4′ level, tape measure, pencils |
Required Building Materials Checklist
A detailed bill of materials (BOM) helps you stay organized. Most building supply stores have kiosks that help generate a materials list based on your design. Here’s what you need to think over:
- Framing System: Choose between 16″ or 24″ on-center studs (24″ typically works well for most garages and uses less lumber)
- Lumber Selection: Pick between 2×4 or 2×6 framing based on climate and insulation needs
- Foundation Materials: Plan for treated bottom plates to prevent rot
Where to Source Materials Cost-effectively
We found several reliable ways to get materials while keeping costs under control:
- Traditional Suppliers:
- Building supply stores with design center kiosks
- Specialty roofing supply houses for matching existing shingles
- Alternative Sources:
- Material resale centers (like hardware store versions of thrift shops)
- Construction sites for surplus materials (with permission)
- Estate sales and yard sales for specific items
Getting multiple quotes from suppliers makes sense because prices can vary by a lot. Order slightly more lumber than calculated (especially 2x4s and 2x6s) to account for measurement errors. Specialized items like roofing materials often need specific suppliers to ensure proper matching with existing structures.
Foundation and Site Preparation
Your garage building project’s success depends on its foundation. Let’s tuck into everything needed to create a solid base for your dream garage.
Site Assessment and Ground Preparation
A proper site preparation starts with a full picture of soil testing. You can run a simple moisture test to check soil conditions – if water takes longer than 1 inch per hour to soak in, you have low moisture levels. The perimeter needs a hole at least 2 feet wide by 2 feet deep, though a 3-foot depth provides better stability.
The site grading should ensure proper drainage to protect the foundation from water damage. Your excavation process matters because it:
- Stops future foundation settling
- Creates proper water runoff
- Levels the surface for construction
Pouring the Concrete Foundation
The concrete foundation specifications need to be exact. Here’s what works best:
| Foundation Element | Specification |
|---|---|
| Minimum Thickness | 4-5 inches |
| Footer Size | 20″ x 8″ |
| Footer Depth | 36″ below grade |
A moisture barrier and reinforcement materials like fiber or wire mesh make a big difference. The concrete mixture needs special attention – while extra water makes pouring easier, it weakens the foundation.
Common Foundation Mistakes to Avoid
The foundation phase can make or break your project. Poor waterproofing tops the list of problems. Concrete’s natural porosity means water can seep in and cause structural damage over time.
Weather conditions play a vital role in concrete pouring. The foundation needs enough time to dry, so avoid winter months and rainy days. You should allow up to four weeks for proper curing, though construction can start earlier.
A proper drainage system and 6-8 inches of gravel beneath the foundation provide extra protection. This combination prevents water buildup and gives additional support to your concrete slab.
Basic Construction Techniques
Time to roll up our sleeves and tuck into the actual construction phase of your garage. Our foundation is set, and we’re ready to change those building materials into sturdy walls and a reliable roof structure.
Wall Framing for Beginners
Successful wall framing starts with proper measurements. Most garage projects need 24″ on-center stud spacing, which provides excellent stability while using less lumber. Our team assigns tasks based on experience levels:
- Experienced team members handle layouts and window openings
- Mid-level skills focus on cutting lumber and building headers
- Beginners assist with hauling materials and installing hurricane clips
Installing Roof Trusses Safely
Roof trusses need careful planning and proper safety measures. The team ensures trusses are installed with adequate temporary bracing until roof sheathing completion. Safe installation requires:
| Task | Requirement |
|---|---|
| Weather | Avoid high winds |
| Bracing | Use 1×4 temporary braces |
| Spacing | 24″ on center typical |
Note that trusses need sheathing as soon as possible after installation. Proper diagonal bracing is significant to maintain structural integrity during construction.
Adding Windows and Doors
Proper positioning makes all the difference in window and door installation. The team ensures rough openings are 1.5-2 inches larger than garage doors. Our proven window installation process includes:
- Measure and mark the opening precisely
- Install the window frame with proper weatherproofing
- Apply window glazing or sealant to create a watertight seal
- Add insulation between the frame and panel to improve energy efficiency
Windows work best in top panels for maximum light or center panels to create an appealing focal point. Garage doors need special attention to side walls, with extra bracing to secure them to the foundation and header.
Safety and structural integrity remain our primary focus throughout construction. These simple construction techniques help build a garage that stands the test of time while providing needed functionality.
Safety Considerations and Best Practices
Safety must be your top priority during a garage construction project. Our experience with many DIY builders shows that the right safety measures can make the difference between a soaring win and potential disaster.
Personal Protective Equipment Requirements
Building your own garage requires non-negotiable PPE. Here’s your essential safety gear checklist:
| Equipment Type | When to Use |
|---|---|
| Safety Glasses | During all cutting and construction activities |
| Work Gloves | While handling materials and using power tools |
| Hard Hat | Throughout construction, especially during framing |
| Steel-toed Boots | At all times on the construction site |
| High-visibility Vest | During low-light conditions |
Your safety equipment must meet OSHA standards because proper PPE prevents most common construction injuries.
Working Safely at Heights
Extra precautions are vital when you work on roof trusses or elevated sections. OSHA requires fall protection at heights of six feet or more in construction. Here are our essential height safety protocols:
- Using proper fall arrest systems rated for 5,000 pounds
- Installing guardrails around elevated platforms
- Maintaining three points of contact on ladders at all times
Calculating fall clearance is vital – a 6-foot lanyard requires at least 18.5 feet of clearance to work safely. Ladder work needs a 4:1 ratio of rise to run and a 3-foot extension past the working surface.
When to Call in Professional Help
DIY garage building is great, but some tasks need professional expertise. You should call professionals for:
- Electrical Work: Most municipalities mandate certified professionals for electrical installations
- Complex Structural Issues: When dealing with specialized support systems
- Plumbing Installations: Required by local building codes for proper permits
Attempting these specialized tasks without proper certification leads to serious safety violations and can get pricey. Professional contractors know OSHA regulations and have proper insurance coverage. This protects your property and workers during complex installations.
Fire safety demands appropriate fire extinguishers within reach because flammable liquids pose significant risks in garage construction. Storing hazardous materials in approved safety cabinets reduces fire risks.
Building your own garage brings great rewards, but proper safety protocols ensure project success. Safety investments prevent accidents and help complete your project smoothly.
Conclusion
DIY garage construction might look overwhelming at first. But we’ve found that this project becomes quite manageable with the right tools, proper planning and safety measures in place.
Our experience shows that DIY enthusiasts save much money on garage builds. They also learn valuable skills and feel proud of their achievement. Success depends on getting a full picture beforehand – pulling permits, collecting materials and learning simple construction methods.
Safety should be your top priority throughout the build. Taking on most tasks yourself can be rewarding. Yet it takes real wisdom to ask professionals to handle specialized work like electrical systems.
Your garage project needs patience and close attention to detail. The path to success starts with solid planning. Focus on using proper building techniques without cutting corners on safety. You’ll end up with a strong, practical garage that will last for years.
