My first home mechanic’s garage setup needed more planning than I could have imagined when I started 15 years ago. A typical two-car garage, measuring 24×24 feet, provided me with ideal space for a functional workshop. I failed to plan for proper lighting and ventilation at the time.
Experience taught me that an effective garage tool setup needs a careful look at workspace layout and room for essential tools. My home garage setup changed substantially once I realized proper lighting made detailed work possible. The right amount of light (130-150 lumens per square foot) and good ventilation became crucial. Poor airflow can lead to harmful pollutants that cause headaches and breathing problems. A workshop mechanic’s garage with well-placed workbenches and smart tool storage became the basis of my efficiency.
Years of trial and error helped me turn my cluttered, dim garage into a professional-level workspace. In this piece, I’ll share what I wish someone had told me before I started. You’ll learn about essential tools and smart organization systems that save time and reduce frustration.
Assessing and Planning Your Home Garage Setup
Setting up my home mechanic garage started with a good look at my available space. My 15 years of experience taught me that rushing through planning only brings headaches and wastes money.
Measure your available space
A successful garage workshop starts with exact measurements. I took my tape measure and noted every inch of my garage—height, width, and depth. Most home mechanics do well with a 24×24-foot two-car garage. A single-car garage needs at least 16×28 feet to give you enough room around your vehicle.
The overall size isn’t everything. My layout needed to work around support beams, built-in cabinets, and garage door tracks. This full picture helped me see how my garage tool setup would work for different projects.
Account for future tool and vehicle needs
I learned this the hard way – not planning for growth meant I kept moving things around as my tool collection grew.
Your space plan should include vehicles you might buy later. Make sure your garage has enough height if you’re thinking about an RV or taller vehicle. Leave space for tools and equipment you’ll pick up along the way. Your workflow gets better with specific areas for different jobs (repair area, tool storage, clean workbench).
Plan around power outlets and lighting
My garage setup improved most after I sorted out the electrical setup. A simple sketch showed me how many outlets and lights I needed. Note that you can only add so many lights to one circuit—maximum wattage shouldn’t exceed 1,440 watts on a 15-amp circuit or 1,920 watts on a 20-amp circuit.
Good garage lighting needs 50 lumens per square foot, and work areas need about 300 lumens per square foot. You should have outlets every 3-5 feet around the garage. Pay special attention to spots where you’ll use power tools.
Here’s a pro tip: Put your lights on different circuits than your outlets. This stops that annoying dimming when you fire up power tools.
Essential Tools I Wish I Bought Sooner
After 15 years of working on cars at home, I’ve learned that starting with the right tools could have saved me countless hours of frustration and thousands of dollars in unnecessary repairs.
Simple hand tools every garage needs
A socket set forms the foundation of any home mechanic’s garage setup. You should invest in both standard and metric sizes with 3/8-inch, 1/4-inch, and 1/2-inch drivers. Quality makes a difference here—choose sets that don’t skip sizes and come with a lifetime warranty. Deep sockets prove essential to access hard-to-reach fasteners.
A complete set of wrenches comes next. Ratcheting combination wrenches have saved me time, especially in tight spaces. Quality screwdrivers, wire cutters, and pliers are must-haves for electrical work—they’ll last longer than you if you buy good ones.
Power tools that save time
My 1/2-inch impact wrench changed everything about removing stubborn lug nuts and bolts. A cordless drill/driver speeds up many tasks. My 3/8-inch power ratchet became my go-to power tool for engine bay work where space gets tight.
Specialty tools for engine and suspension work
You can’t skip a torque wrench—wrong torque leads to fluid leaks or even snapped bolts. I learned this lesson after breaking a bolt because I thought “just one” could be tightened by feel. Specialized suspension tools like coil spring compressors and ball joint separators make DIY jobs possible that weren’t before.
An OBD2 scanner quickly became essential. It lets me read error codes and fix problems before they turn serious.
Why an air compressor changed everything
A quality air compressor reshaped my workshop more than any other tool. It powers pneumatic tools that weigh less and pack more power than electric ones. Air-powered impact wrenches, ratchets, and grinders work better while staying lighter and lasting longer.
The air compressor also cleans engine components and helps with spray painting small areas. A portable double “hot dog” style compressor with 3-8 CFM at 90 PSI handles most automotive tasks well.
Organizing for Efficiency and Workflow
My next big step after getting my tools was to create an organization system that boosted productivity. The way I arranged my workspace turned out to be just as crucial as the tools I chose.
Workbench placement tips
Years of trying different setups taught me that fixed workbenches work best in corners, right across from the main vehicle door. This setup creates a smooth workflow and keeps projects clear of the car path. I added a rolling workbench later to make things more flexible. This mix gives me exactly what I need—a solid surface for detailed work and a mobile station I can move right next to my projects.
Wall-mounted vs. mobile tool storage
“Out of sight, out of mind” shaped how I planned my storage. Wall-mounted pegboards above my workbench keep my everyday tools visible and easy to grab. My wrenches, hammers, and screwdrivers hang where I can spot both handles and tips quickly, so I never waste time digging through drawers.
Drawer storage worked better for smaller items, though. Drawers shield tools from dust and pack more items into less space than wall storage. My rolling tool cart changed everything—bringing tools to where I worked instead of walking back and forth saved me countless hours.
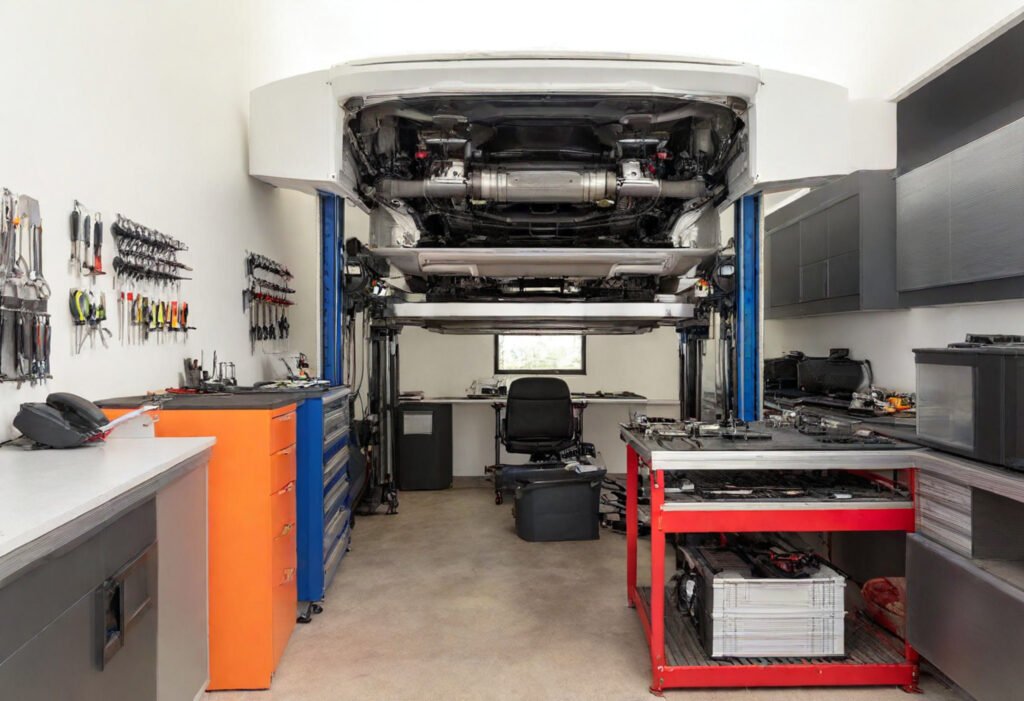
How I set up zones for different tasks
Dedicated zones completely changed my garage workflow:
- Diagnostic zone with computer and testing equipment
- Repair area with enough space around vehicles
- Clean workbench zone for precision assembly work
- Storage zone for parts and less-used tools
Each zone has everything needed for specific tasks, so I never waste time looking for misplaced items.
Mistakes I made with clutter and how I fixed them
My fixed workbench became a dumping ground—that was my biggest organizational mistake. I fixed this by following a strict “clean after use” rule and adding labeled storage for everything. I also didn’t plan enough for my growing tool collection. Now I leave 20% space in each storage area for new tools instead of reorganizing everything repeatedly.
Upgrades That Took My Garage to the Next Level
My garage transformation started after I mastered the simple elements. I invested in upgrades that turned my workspace from functional to exceptional. These improvements boosted my productivity and comfort over the years.
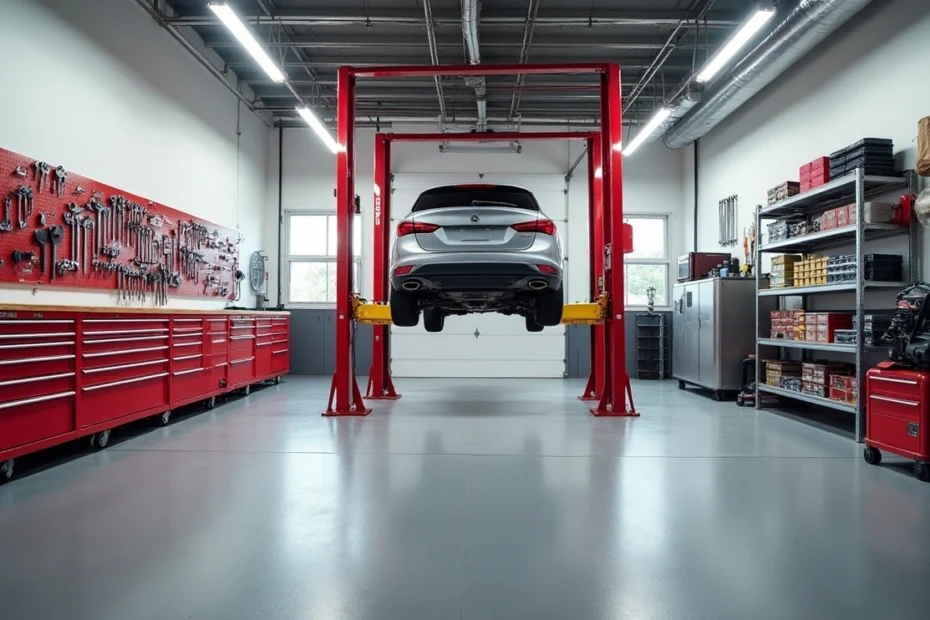
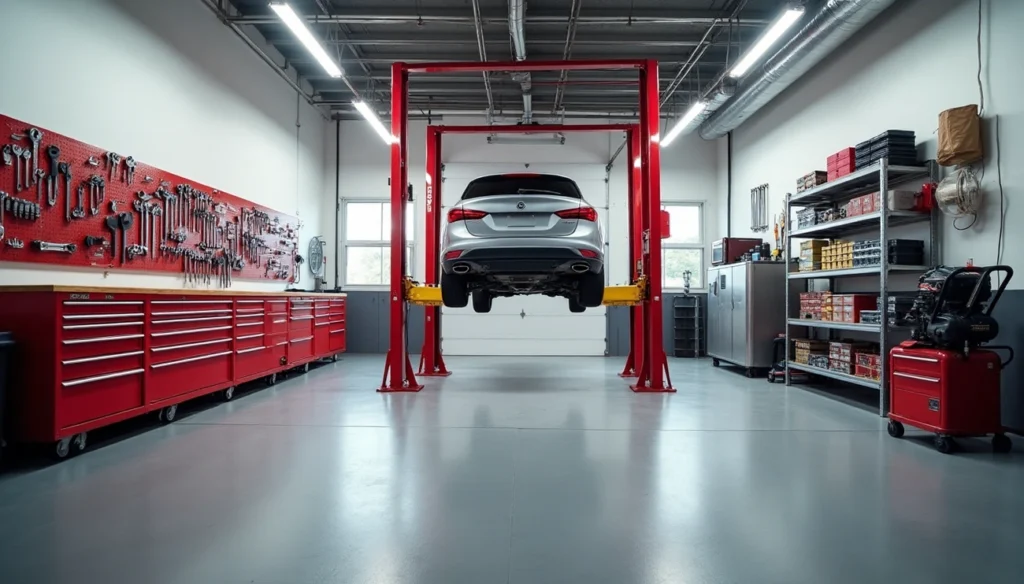
Installing a car lift in a home garage
The car lift turned out to be my biggest game-changing upgrade. This is a big deal as it means that proper planning is essential—your garage ceiling height should be at least 11-12 feet tall, though some models work with 10’4″ ceilings. I made sure my concrete floor was 6-12 inches deep with a minimum 3000 PSI rating before installation. A professional will charge between $800-$1300 to install a 9000 lb. two-post lift, but the benefits make it worthwhile. I can now work underneath vehicles comfortably without crawling on a creeper. The lift also gives me valuable storage space by letting me park one car above another.
Lighting and ventilation improvements
Good lighting revolutionized my workspace. LED fixtures now provide 130-150 lumens per square foot with a high Color Rendering Index that helps me identify wire colors correctly during electrical work. I added exhaust fans to handle airborne irritants, especially when using chemicals. These changes made tasks easier and protected my lungs.
Adding heating and cooling for year-round comfort
A ductless mini-split system brought year-round comfort to my garage. The cost ran over $1000, but this solution provides heating and cooling without extensive ductwork. Window units or portable options work well if you’re on a budget—electric space heaters for winter and portable air conditioners for summer. Climate control lets me work in my garage throughout the year.
Smart storage solutions I found over time
My storage evolved from simple shelves into a well-laid-out system. Ceiling-mounted racks use vertical space and keep the floor clear. Rolling workbenches with built-in storage let me move around vehicles easily. I installed shallow drawers instead of large containers for small items, which keeps parts from getting lost. These smart storage solutions help me use every inch of available space.
Conclusion
My fifteen-year experience of building the perfect mechanic space taught me lessons that are nowhere near the value of the tools themselves. Without doubt, good planning saves money and cuts down frustration—measure well, plan your electrical needs, and keep space to grow.
Quality socket sets, wrenches, and diagnostic equipment are the foundations of any good home garage setup. These tools quickly pay for themselves by avoiding repair bills. My humble air compressor turned out to be the game-changer that powered countless tools with versatility no other equipment could match.
Tools matter as much as keeping them organized. My workflow improved when I created dedicated zones. Wall-mounted storage and rolling tool carts helped me stop wasting time looking for misplaced items. My workbenches were cluttered at first, but a strict “clean after use” policy fixed this issue for good.
Better lighting and ventilation protected my health and helped me work better. The car lift cost a lot, but it revolutionized what I could do in my home space. The climate control let me work year-round and made winter repairs comfortable instead of something I dreaded.
You need time, patience, and constant improvement to build a good home mechanic garage. Start with a clean, well-lit space and quality, simple tools instead of trying to make everything perfect right away. Let your projects guide what you buy next. Your garage will grow naturally with your skills, just like mine did through fifteen years of oil changes, brake jobs, and full engine rebuilds.