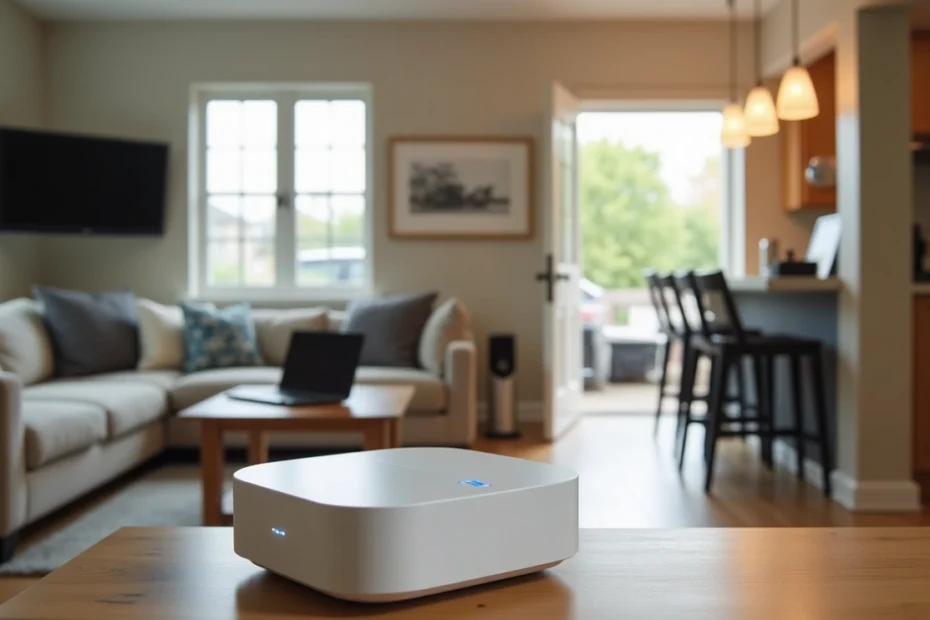
WiFi dead zones create frustration when you’re setting up a mesh network for multiple devices. The average Australian home now connects more than 20 devices. Most of us know those annoying spots where signals seem to vanish – from garages to basements and rooms farthest from the router.
Traditional routers provide better line-of-sight coverage but fail to penetrate dense objects like brick walls. A mesh network’s design creates complete WiFi coverage throughout your home. The signal power moves from one satellite node to the next, which eliminates dead zones instead of leaving connectivity gaps. This piece explores proper mesh network setup with helpful diagrams that ensure optimal configuration. Larger properties benefit from this solution, especially when you have uninterrupted connectivity needs.
Understanding Mesh Network Basics
Mesh WiFi systems mark a major step forward in home networking technology. These systems use multiple connected devices (nodes) that work together. They create a single, large wireless network throughout your home.
What is a mesh Wi-Fi system?
A mesh network pairs a main router with extra satellite nodes that act as natural extensions of your primary connection. The nodes talk to each other and serve as relay points to transmit data across the network. This setup gives you a steady signal strength across large areas. If one node stops working, the system routes data through other paths to keep running. Most mesh WiFi networks can give you signal coverage ranging from 2,000 to 5,500 square feet.
How mesh is different from traditional routers
Traditional routers send WiFi from one central point. Your signal gets weaker as you move away from it. Mesh systems work differently – they spread connectivity through many well-placed nodes. The network uses one name (SSID), so your devices can move naturally between nodes without you switching them. Your devices will always find the strongest signal available.
Regular WiFi routers reach only 150-160 feet indoors. This means homes with complex layouts often have connection problems with standard setups. Regular routers with extenders create separate networks you must switch between manually. Mesh systems work as one complete network instead.
When you need a mesh network
You should think about getting a mesh network if your home is bigger than 1,800 square feet or has multiple floors. Homes with thick walls, brick interiors, or unusual layouts work better with mesh systems. A mesh system might fix your connection problems if you still find dead zones with a good router.
Mesh networks work best for homes with many connected devices running at once. They help most when you need reliable connections for real-life applications everywhere in your home. This includes tough spots like garages and basements.
Wired vs Wireless Mesh Setup

Setting up your mesh network requires a vital decision between wired and wireless backhaul that affects performance. Your mesh nodes’ communication depends on this infrastructure choice.
Wired backhaul: best performance option
Ethernet cables connect mesh nodes in a wired backhaul setup and create a dedicated physical connection between your router and satellite units. This method delivers better performance than wireless options. Users get higher bandwidth, better reliability, and lower latency. Wired backhaul provides stable connections needed for bandwidth-heavy activities like multi-player gaming or 4K streaming.
Your home needs Cat5e or Cat6 cables throughout to set up a wired system. Professional installation might be necessary in some cases. The performance boost justifies this investment—wired connections can improve network speeds up to seven times faster than the best wireless systems.
The connection typically flows this way: internet service line → modem → primary mesh router → network switch → satellite units. This setup allows your mesh system to work as centrally managed access points instead of signal-relaying extenders.
Wireless backhaul: placement and signal strength
Over-the-air connections between mesh units form the basis of wireless backhaul. The setup is easier but has limitations. Network speed drops by approximately 50% with each wireless hop between nodes because wireless communication uses half-duplex transmission.
Your wireless backhaul needs at least -60 dBm signal strength between nodes for the best performance. Place satellites where the 5GHz signal drops from full strength to one or two bars lower. The ideal distance is 40-50 feet (12-15m) in open spaces or 25-30 feet (8-9m) with walls between units.
Most systems use the 5GHz band for backhaul communication. The system switches to 2.4GHz if nodes are too far apart. Tri-band systems often dedicate one band just for backhaul traffic. This keeps other bands free for client connections.
Mixing wired and wireless: what to know
A hybrid approach often works best in real-life situations. You can extend coverage to hard-to-reach areas by mixing wired and wireless nodes without losing network performance. This method works better than pure wireless mesh because only wireless-backhauled satellite clients see reduced speeds.
Hybrid setups work best in a star pattern. Connect wireless satellites directly to the main router or a wired satellite instead of chaining multiple wireless nodes. This approach keeps performance high by limiting wireless hops to two at most.
The setup process matters in hybrid mesh networks. Connect your primary router to your modem first. Add wired satellites next, then finish with wireless nodes.
Optimizing Node Placement and Topology

The foundations of an effective WiFi mesh network setup depend on the strategic placement of mesh nodes. Understanding the simple components will help you optimize the layout to eliminate connectivity problems.
Ideal distance between nodes
Your mesh network works best when you position nodes within 30-40 feet of each other. This “two-room rule” will give a reliable signal strength without degradation. Each mesh satellite can cover about 1,500 square feet. You should place nodes at least five feet above the ground—on bookshelves or tabletops work well. Most signal-blocking materials are found in the lower half of rooms. The nodes perform optimally in open areas that have a direct line of sight to other components.
Star vs Daisy-chain topology
Star topology creates a hub-and-spoke arrangement by connecting all satellite nodes directly to the main router. This setup provides better reliability because a single node failure won’t affect others. Daisy-chain topology links nodes in a linear sequence. It needs less cabling but can be vulnerable—one failure breaks the whole chain. Note that wired star configurations typically deliver better performance. Clients on wireless-backhauled satellites see less signal degradation.
Using mesh network diagrams for planning
Detailed mesh network diagrams help you visualize your setup before the physical installation. These visual plans show the best node placement, connection paths between devices, and potential coverage gaps. Looking at these diagrams reveals bottlenecks and areas that need improvement. They also serve as excellent references when you want to expand your network later.
Avoiding signal overlap and dead zones
You can prevent dead zones by placing satellites halfway between another node and the problem area. Keep nodes away from exterior walls or you’ll waste half your coverage outside. Thick walls, brick, or metal materials can substantially disrupt signal distribution. A balanced placement is key—too many nodes close together leads to signal interference and overlap issues.
Advanced Tips for Performance and Use Cases
Your mesh system’s true potential emerges when you go beyond simple coverage. Fine-tuning your setup helps maximize performance for specialized use cases.
Using mesh for gaming and live apps
QoS settings play a vital role in gaming and streaming. These features help prioritize specific devices by allocating more bandwidth to gaming consoles or computers that run live applications. Competitive gaming demands direct Ethernet cable connections from your consoles to mesh nodes. Most gaming-optimized mesh systems can support at least 50 devices at once while keeping latency low.
Multi-link operation (MLO) in Wi-Fi 7
Wi-Fi 7 mesh systems introduce MLO as a major technological advancement. This technology enables devices to communicate across multiple frequency bands at once—2.4GHz, 5GHz, and 6GHz—instead of switching between them. Users experience 47% higher throughput compared to Wi-Fi 6, substantially reduced latency, and improved reliability during congestion. MLO functionality requires compatible Wi-Fi 7 routers and client devices.
Best practices for large homes or garages
Thick walls in detached spaces like garages need strategic node placement near windows rather than attempts to penetrate fire-code walls. The 2.4GHz band offers better obstacle penetration than higher frequencies. Weatherproof mesh extenders can create entertainment spaces near pools or patios for outdoor coverage.
Common mistakes to avoid in mesh WiFi setup
Your ISP router’s WiFi should remain disabled to prevent interference with your mesh system. Mesh nodes work best when placed within 30-60 feet of each other. Available wired backhaul options should never go unused as they provide substantial performance gains. Setting up app guidance alone isn’t enough—speed tests throughout your home are essential.
Conclusion
A mesh network revolutionizes home connectivity and turns a frustrating experience into an uninterrupted one. This piece explores how these powerful systems eliminate dead zones and provide consistent coverage throughout your property.
Unlike traditional routers that broadcast from a single point, mesh networks create a unified blanket of connectivity. Knowing how to maintain signal strength across large spaces makes them ideal for modern homes with many connected devices.
Your setup process involves one of the most important decisions – choosing between wired and wireless backhaul. Wired connections are faster and more reliable, but take more work to install. Wireless setups are convenient but don’t perform as well. A hybrid approach works best for most home layouts.
Node placement is another significant factor that determines success. Your units should be 30-40 feet apart and at least 5 feet above ground level to distribute signals effectively. Star topology setups work better than daisy-chain arrangements, especially with wired backhaul connections.
Power users can improve their networks by tweaking Quality of Service settings for gaming or video calls. Compatible devices might also benefit from newer features like Multi-Link Operation in Wi-Fi 7 systems.
Dead zones become history once you apply these mesh networking principles. Your garage, basement, or multi-story home will get the consistent connectivity you need. You won’t have to deal with spotty WiFi in any part of your home anymore.