You can change your home security with a smart garage door opener in just 30 minutes. The best part? You don’t need technical expertise or deep pockets – these smart devices are accessible to more people at prices starting from $40.
The idea of setting up new garage technology might seem daunting. Many homeowners get worried about whether devices will work together or if the wiring will be too complex. This piece walks you through the setup process and helps you solve common problems. We’ll show you how to add useful features to your garage door system that include smartphone controls, live notifications, and voice assistant compatibility.
Assessing Your Garage Door Compatibility
You need to check if your existing setup works with a smart garage door opener before buying one. Most current openers can be modernized, but you should verify specific factors to ensure a smooth installation.
Checking your existing opener model
The first step is to identify your current garage door opener model. Smart garage controllers usually work with garage door openers manufactured after 1993 that have program or learn buttons.
Look for the learn button on your opener’s motor head to check compatibility. The button’s color is one of the most important factors:
- Yellow
- Purple/Brown
- Orange/Red
- Green
Your opener will likely work with smart controllers if it has one of these colored learn buttons. All the same, some brands need special attention. Take Chamberlain openers with a yellow learn button – they might need an “ismartgate switch adaptor” that’s sold separately.
The manufacturer’s website or compatibility tools can help you verify your specific model. Some controllers like the Tailwind IQ3 come with special adapters for Chamberlain, LiftMaster, or Craftsman openers that have yellow learn buttons. These adapters also work with certain Genie and Overhead Door models.
Understanding retrofit vs. replacement options
Smart functionality for your garage comes with two main choices: modernizing your existing opener or getting a new one.
A smart controller is usually cheaper if your garage door opener works well and was made after 1993. These controllers connect to your current opener and your home Wi-Fi network, so you can control it from your phone.
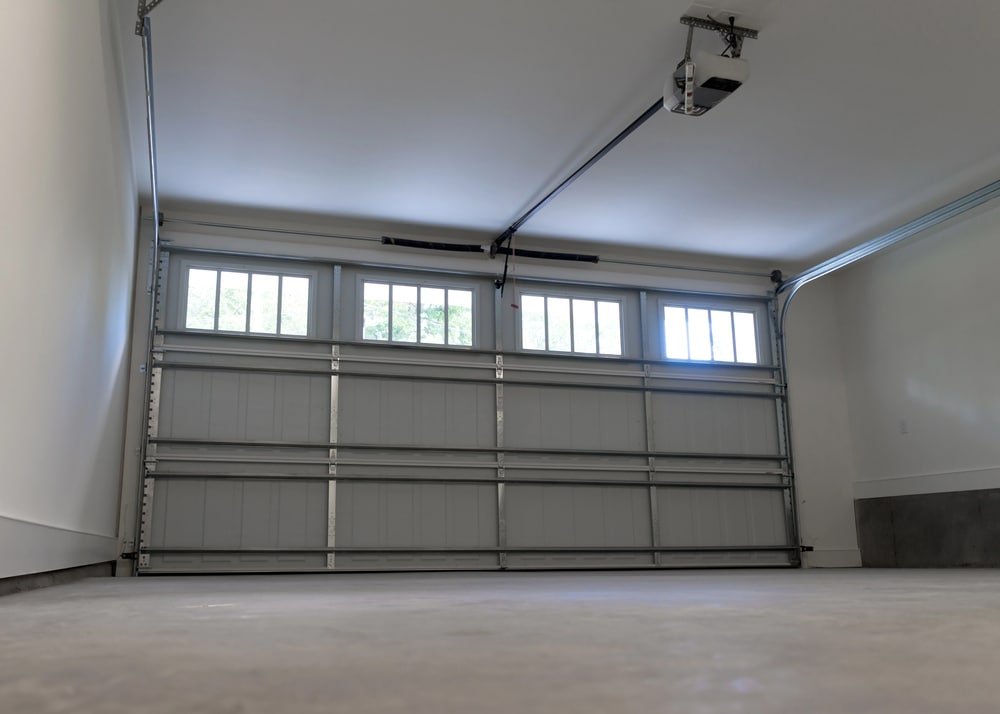
Older openers from 1993 or before need complete replacement because they don’t work with current smart technology. Your garage door must also be sectional with properly installed safety sensors.
Different controllers install differently:
- Chamberlain MyQ Smart Garage Control needs no wiring and installs easily
- Tailwind IQ3 needs wiring but works with more openers
- Wyze Cam v3 has a security camera and installs quickly
Chamberlain or LiftMaster openers with a yellow learn button and Wi-Fi or “Powered by myQ” logo already have smart features built in.
Verifying Wi-Fi signal strength in your garage
Your smart garage door opener needs a stable Wi-Fi connection to work properly. Test your garage’s signal strength with your smartphone or a Wi-Fi analyzer app before installation.
Smart garage devices work best within 50 feet of your router. RSSI (Received Signal Strength Indicator) measures signal strength from -70 (weakest) to -50 (strongest). Poor RSSI leads to bad communication between your smart device and router.
Your Wi-Fi signal can get weaker because of:
- Distance between router and garage
- Walls and floors blocking signals
- Other electronics causing interference
- Too many connected devices
- Old router technology
Try these fixes for weak signals:
- Put your router closer to the garage
- Add a Wi-Fi extender halfway between your router and garage
- Replace old routers (they usually need replacement every 3-4 years)
- Use an Internet Gateway that connects to your router through Ethernet and sends signals 300-600 feet away, if your opener supports it
A weak Wi-Fi signal means your smart garage door opener might respond slowly or not work remotely, which defeats its purpose.
Gathering Essential Tools and Materials
You need to check if your garage door works with the system before getting started. Let’s get all the tools and resources ready for your smart garage door opener installation.
Simple tools needed for installation
You probably have most of these tools at home already. Here’s what you’ll need:
- Screwdriver (both Phillips and flathead) or power drill
- Measuring tape to position everything right
- Ladder or stepladder to reach the opener
- Safety equipment (gloves and safety glasses)
- Hammer to mount brackets
- Pencil or marker to mark drill points
- Drill with a 5/32 drill bit for mounting holes
Your smart garage door opener kit should come with mounting brackets, screws, wall anchors, and fasteners. The manufacturer’s instructions say having these simple tools ready will help you avoid delays.
Safety matters a lot. Keep your kids and pets away from where you’re working. The setup isn’t hard, but a clear workspace will give a smooth installation process.
Downloading the manufacturer’s app
The manufacturer’s smartphone app controls your entire smart garage system. Here’s how to get it set up:
- Check your smart garage door opener model
- Go to the Apple App Store (for iPhone) or Google Play Store (for Android)
- Look for the manufacturer’s app (like myQ App for Chamberlain and LiftMaster openers)
- Download and install the free application
The app needs you to create an account. You’ll enter your username, password, email address, country, and zip code. This account keeps your garage door system secure.
Take a quick look at the reviews before downloading the app. This helps you pick the right one for your opener model. Some brands like Chamberlain and LiftMaster use the myQ app, while others have their own apps.

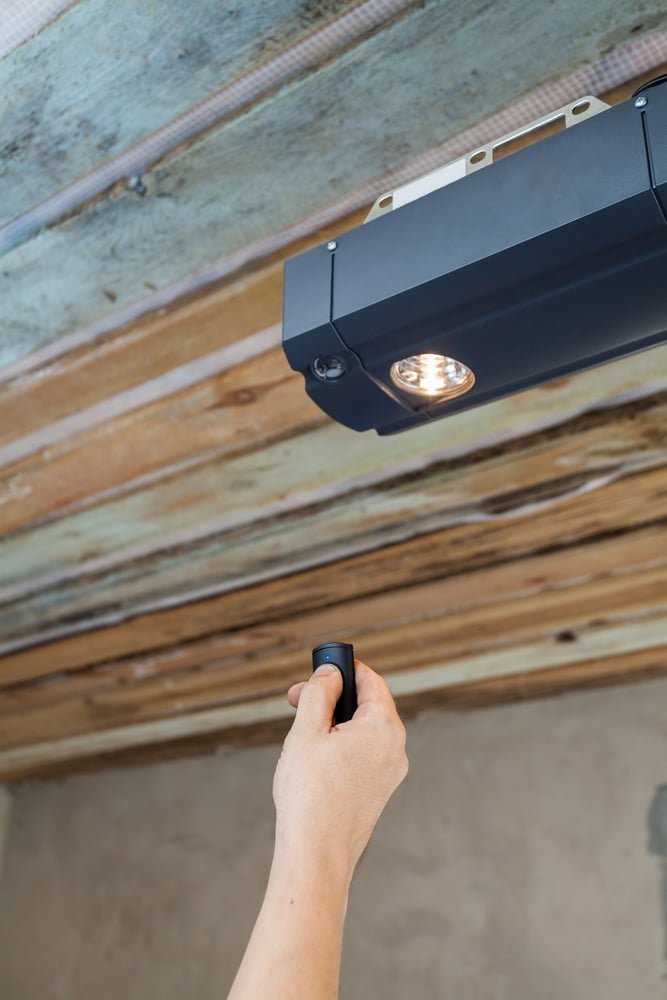
Setting up your smartphone for control
Your phone becomes your garage door’s command center after you install the app. Here’s what you need to do:
Connect your smartphone to your home’s Wi-Fi network first. Your garage needs good Wi-Fi signal to talk to your phone through the app. You’ll need to stay close to the device at the time of setup.
The app shows you step-by-step instructions to add your smart garage hub when you first open it. You might need to scan a QR code or type in the device’s serial number.
Stay near your garage door opener or Wi-Fi hub while setting up. Your specific model might need you to:
- Push the settings button on the smart garage hub
- Connect through your router’s WPS
- Use Bluetooth pairing (especially for iPhone users)
The app shows you a visual indicator when everything pairs up right. Then you can start installing your smart garage door opener.
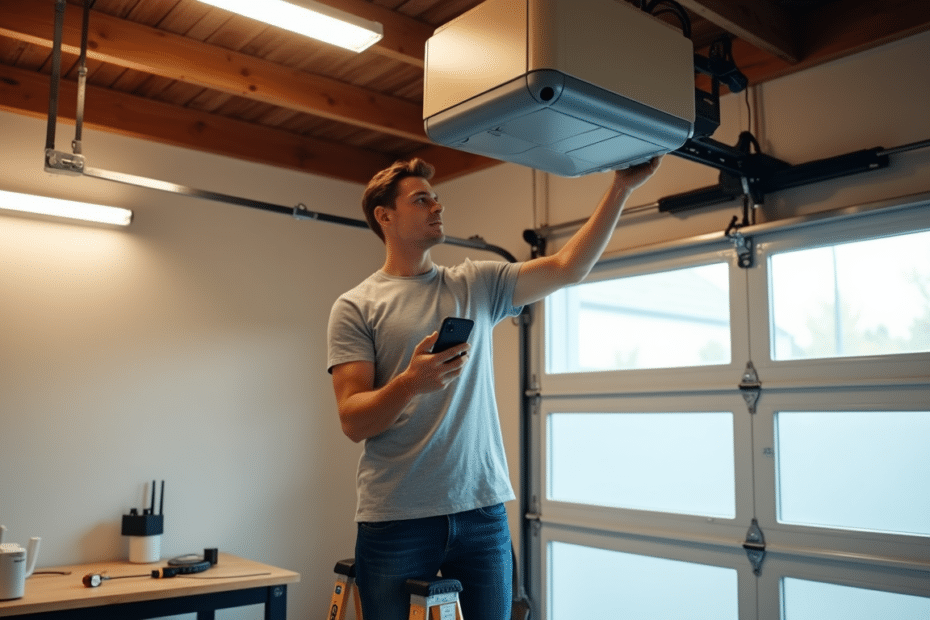
Step-by-Step Installation Process
The time has come to install your smart garage door opener after gathering tools and downloading the app. This hands-on process needs attention to detail. The good news is that beginners can handle it without much trouble.
Mounting the controller unit
The controller unit works as a bridge between your garage door opener and smartphone app. The location of your controller unit matters, so here are the important factors to remember:
- The unit should be at least 6 feet above the ground
- You need to see it from the garage doorway to check indicator lights
- Metal objects should be 4 feet away to avoid signal interference
- A power outlet should be within reach without extension cords
The provided bracket helps mark drill holes for ceiling mounting. Make 5/32″ pilot holes and secure the bracket with included hardware. The controller slides onto the bracket easily. Once connected to power, LED lights will flash that indicates successful power-up.
Connecting wires to your existing opener
Safety comes first – unplug your garage door opener before starting any wiring. Your controller connects to the existing opener through two wires (blue and brown typically). These wires communicate with the opener’s door control terminals.
Use a ladder to reach your garage door opener motor and find the “Learn” button. This button is a vital part of pairing your smart controller with the existing opener. The controller wires go into the terminals on your opener that connect to the wall button. Each wall button terminal should have two wires attached at the end.
Installing door sensors
Door sensors track your garage door’s position and tell you if it’s open, closed, or in between. Here’s how to install them right:
- The top panel of your garage door needs cleaning before mounting
- Put adhesive strips on the sensor’s back
- Place the sensor in the door’s top corner with “TOP” facing upward
- Hold firmly for 30 seconds to attach securely
The sensor needs proper orientation to work well. Pull the battery tab from the sensor to turn it on after mounting.
Syncing with your home Wi-Fi network
The physical installation leads to syncing your controller with home Wi-Fi:
- Launch the manufacturer’s app on your smartphone
- Look for your home Wi-Fi network in the list
- Type your Wi-Fi password when asked
- The controller’s light changes from blinking blue to solid green during connection
Press the pairing button on the hub to connect it with the door sensor. A beep sound means successful connection. Test everything by using the app to control your garage door. Make sure your phone gets notifications.
The controller goes in its permanent spot once everything works. Remember to secure all wires neatly.
Configuring Your Smart Garage Door Opener
Your smart garage door opener needs proper setup to realize its full potential after completing the physical installation. Let’s configure the software to make your system secure and convenient.
Creating user accounts and passwords
Start by creating your main account through the manufacturer’s app. MyQ systems need a username, password, email address, and location details. Choose a strong password you’ll remember easily since you’ll need it often.
Smart garage systems let you add more users without giving out your password. MyQ allows two Co-Owners who can access all devices and settings. You can also add thirteen Household Users with limited permissions. Co-Owners get full access to myQ devices and account settings. Household Users can only use selected devices during times you allow.
Setting up notifications and alerts
Up-to-the-minute data analysis helps you track your garage door’s activity. The myQ app setup process is straightforward:
- Open Settings and tap “Notifications”
- Select your garage door device
- Add a new notification with a descriptive name
- Choose what triggers the alert (door open/closed, light on/off)
- Pick notification timing (right away or after a delay)
- Select how you want alerts (push notification or email)
Custom schedules work for different days and times. Overnight monitoring needs two separate notifications. Set one from 10:00 PM to 11:59 PM and another from 12:00 AM to 6:00 AM.
Adjusting safety features
Safety features keep your smart garage door running securely. Check if your safety sensors line up correctly. The receiving sensor should show a steady green LED without any flicker.
The automatic closing feature adds extra security. This timer-to-close option shuts your garage after a set time and prevents it from staying open overnight.
Test the safety reversal system after any changes. Put a 1.5-inch board flat on the floor under the door. Close it using your app. The door should reverse when it touches the board. This shows your safety system works correctly.
Troubleshooting Common Setup Issues
Smart garage door opener setups can face problems despite perfect preparation. Most problems have simple solutions that you can handle without special knowledge.
Dealing with connectivity problems
Wi-Fi signal problems usually cause connectivity issues. Your smart garage door opener needs at least two bars of signal strength to work reliably. The opener won’t connect if the signal is weak. You can try these solutions:
- Move your router closer to the garage
- Install a Wi-Fi range extender
- Change router placement to reduce interference
The time-tested approach works if signal strength isn’t the problem: unplug both your router and the garage door opener for a few seconds, then plug them back in. This simple power cycle fixes many connection problems.
Your smart garage opener should connect to a 2.4 GHz network instead of 5 GHz, as most models don’t work with higher frequencies.
Fixing sensor alignment issues
Door sensors that aren’t lined up properly cause the door to reverse while closing or refuse to close. The receiving sensor should show a steady green LED without any flicker if aligned correctly.
You can fix alignment problems:
- Find the sensors on both sides of your garage door
- Clean both sensor lenses to get rid of dust or debris
- Loosen the wing nut on the receiving sensor (green LED)
- Make adjustments until the green LED stays steady
- Tighten the wing nut to lock the position
Note that sensors often get bumped out of alignment while moving items in or out of your garage.
Resolving app synchronization errors
Your app might not connect or show wrong door status. Here’s what you can do:
Sign out of the app and sign back in first. If problems continue, try a fresh app installation. MyQ device users should press and hold the gear button until it flashes blue, then let go to restart communication.
Router changes might need manual reconnection—update your opener’s settings after replacing your router or changing Wi-Fi passwords.
When to contact professional support
Call a professional if:
- Safety reversing sensors keep misaligning after adjustments
- The app shows error codes you can’t fix
- Connection problems persist after trying all solutions
- You notice wiring issues or hardware stops working
Note that safety should come first during DIY troubleshooting—professional installation will give you precise setup and protect your warranty.
Conclusion
Smart garage door technology might look complicated at first. This piece will show you that upgrading your garage door only needs 30 minutes of focused work. The process becomes simple when you check compatibility, gather tools, install hardware and set up the software.
Most setup issues have easy fixes. Our troubleshooting tips will help you tackle common problems like Wi-Fi connections or sensor positioning. Many homeowners can handle the whole ordeal on their own, though professional help is always there if needed.
This small time investment pays off big time. Your upgraded garage door gives you peace of mind with instant notifications, remote access, and better security features. You’ll love controlling your garage door from anywhere, which makes daily tasks smooth and easy.
Get started with your smart garage upgrade today – you’ll wish you had done it sooner.
FAQs
Q1. How do I set up my smart garage door opener? Begin by downloading the manufacturer’s app on your smartphone. Follow the in-app instructions to connect the smart controller to your existing opener and your home Wi-Fi network. Mount the controller unit, install door sensors, and configure settings like notifications and user accounts.
Q2. Can I make my existing garage door opener smart? Yes, if your garage door opener was manufactured after 1993, it’s likely compatible with a smart retrofit kit. These kits connect to your existing opener and allow you to control your garage door via a smartphone app. Ensure your opener has standard safety sensors and a compatible learn button before purchasing a smart hub.
Q3. What tools do I need to install a smart garage door opener? Essential tools include a screwdriver (both Phillips and flathead), measuring tape, ladder, safety equipment (gloves and safety glasses), hammer, pencil, and a drill with a 5/32 drill bit. Most smart garage door opener kits include necessary mounting hardware.
Q4. How do I troubleshoot connectivity issues with my smart garage door opener? First, check your Wi-Fi signal strength in the garage. If it’s weak, consider moving your router closer or installing a Wi-Fi extender. Ensure the opener is connecting to a 2.4 GHz network. Try power cycling both your router and the garage door opener. If problems persist, log out and back into the app or reinstall it completely.
Q5. What safety features should I adjust on my smart garage door opener? Verify that your safety sensors are properly aligned – the receiving sensor should have a steadily glowing green LED. Configure automatic closing features if available to prevent accidental overnight openings. Always test the safety reversal system by placing an obstacle under the door and ensuring it reverses upon contact.